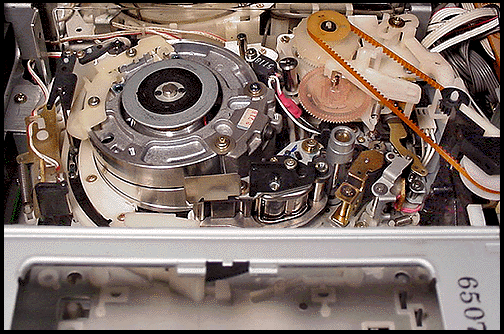
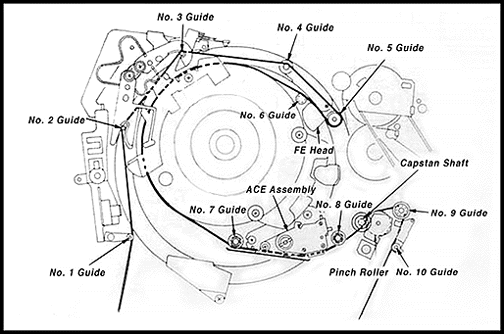
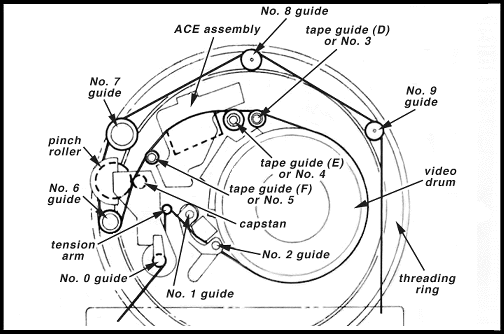
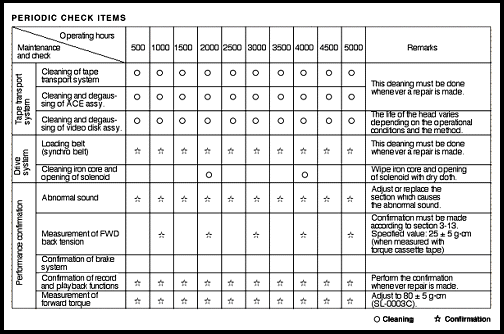
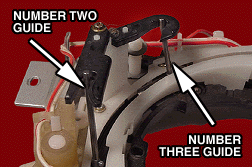
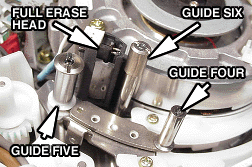
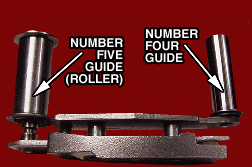
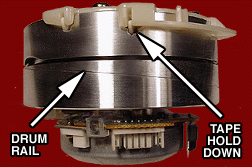
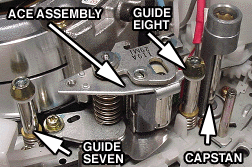
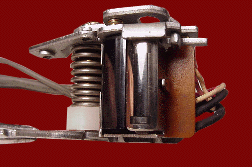
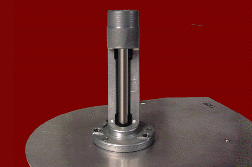
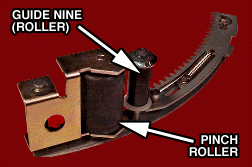
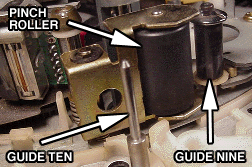
After the general cleaning we can really do a thorough inspection of the tape path components. So now let's get in there and examine all the areas that play such an important part in tape handling and signal reproduction. This is going to be done by the numbers, so below is a rundown of the items discussed so far but in greater detail. Starting with the first photo is a view of the tape compartment. Next is the graphic again of the guides, rollers and heads (the rotating video heads will be covered later). As you continue down I have included a graphic of the first design tape path for your examination, should you be cleaning this style Beta. After this comes a chart of the scheduled maintenance that Sony includes in their service manuals. Look these over and then scroll down to the next paragraph for information on the next group of photos.
| ||||||||||||
This completes the tape path inspection. You are now very familiar with the individual components and are ready to continue. The next steps require dexterity and skill, but your confidence level should be high, and your competence such, that you shouldn't encounter any problems. To go to the next panel by click here. To go back to the previous panel click here. Note: This page is for additional reference and is not included in the manual that comes with the cleaning kit.
Helpful links: Capstan Repair, Cassette interior, Detecting tape damage, Exit side preliminary check, Initial cleaning, Loading assembly, Number five guide tilt, Pinch roller assembly, Pinch roller unloaded, Preliminary
checks, Reel mechanics part 1, Refurbishing guides 2 & 3, Reel table, Shuttle loaded, Shuttle wear, Tension arm, Video drum, Video head evaluation and Video head replacement.
|
