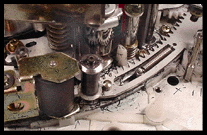
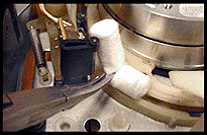
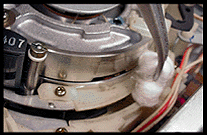
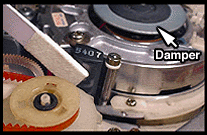
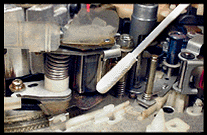
Now that you are familiar with the general overall steps that will be taken to clean the inside of your Beta and know what to avoid it is time to begin. With the cabinet top off and no power to the unit remove as much loose dirt, dust, tape shards and gum as you can using the solvent and the blunt wooden sticks, cotton swabs, cotton wads and mini swabs (made by twisting cotton onto the blunted tips of the wood picks). If you have a can of compressed air, use it to blow away any loose particles. Look at the photos below and use them as your guide. The dental mirror will help you see into the difficult areas. Remove as much debris as possible. This is a only a preliminary cleaning, more detailed and extensive cleaning will follow in future steps.
Next comes a complete tape path inspection, to go to the next step click here. To
go back to the previous panel click here. NOTE: For a closer examination of the individual components being cleaned consult the following links: ACE refurbish page, Adjusting ACE tilt, ACE height and center and Video drum.
|
